
12/14/2025
Happy Sunday, and welcome back to Tabletop Thoughts!
This week, I have a lot done (especially since I was sick last week and didn’t post an update)
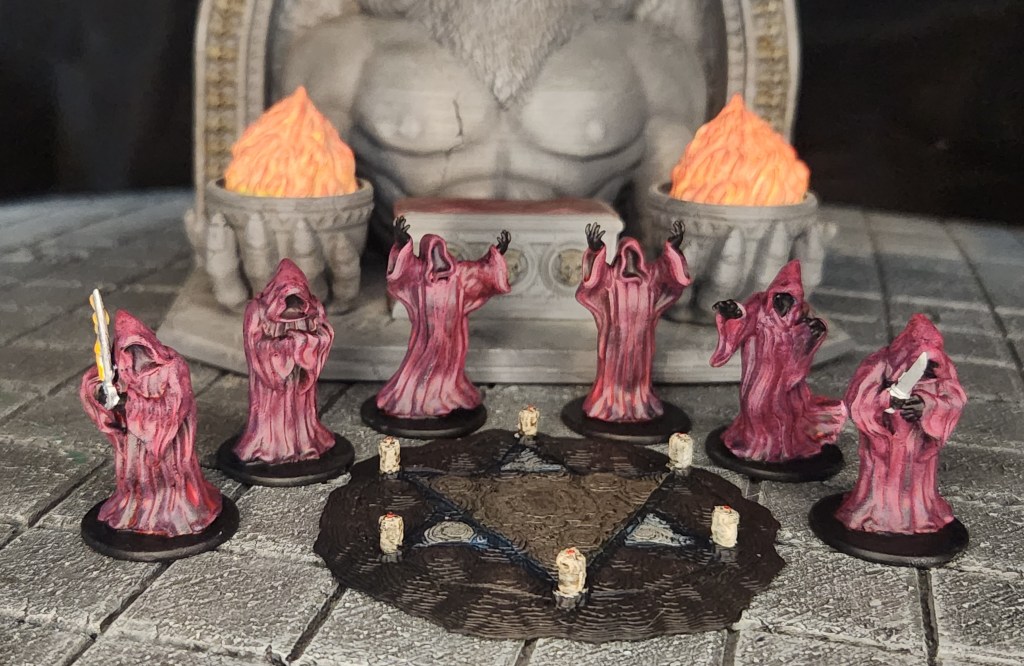
Nothing suspicious here. Just some light chanting and a demon statue.
This week’s painting table was clearly sponsored by bad decisions and forbidden tomes. I wrapped up a small group of red-robed cultists from Ill Gotten Games—the kind of folks who insist they’re this close to summoning something world-ending but swear they have it totally under control. Set around a ritual circle with a not-at-all-concerning demon statue looming in the background, they feel like the exact scene every party stumbles into at level one right before things go sideways.
I printed these cultists in resin and mounted them on counting chips, which gives them a nice bit of weight and makes them easy to handle at the table. I started with a black rattle-can primer, then hit them with a light white dry brush to pull out all those sharp folds and sculpted details. The cloaks were painted with a red India ink wash, followed by a cranberry dry brush to give them that rich, ominous cultist red without a lot of fuss. Gloves were kept simple in black, and the weapons were picked out in silver so they stand out against the darker robes.
The cultist on the left with the sword got a little extra attention, since his blade is wreathed in flames. Those started in white, then were layered up with yellow, orange, and finally red to give them a nice glowing effect. A quick spray of matte clear coat sealed everything in, and just like that, the cult was ready for summoning rituals—or for the party to kick in the door and ruin their evening.
The ritual circle came as part of the same set, and I printed it on my FDM printer. Since it was already printed in black filament, I skipped priming and went straight into painting. The ground was blocked in with brown, while the triangular markings were picked out using two different tan tones to help them stand apart without getting too busy.
The candles were painted white and given a sepia wash, which settled nicely into the details and gave them that slightly grimy, half-melted wax look. To finish them off, I added a tiny dot of red paint to the top of each candle to represent the flame. Simple steps, quick results, and it ties the whole cult scene together without stealing focus from the miniatures.
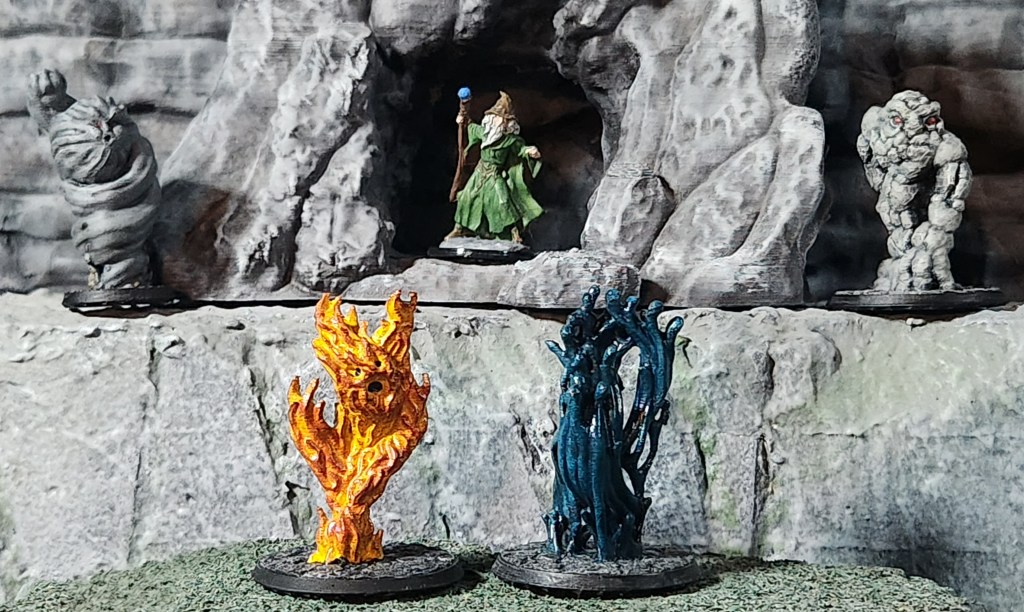
The wizard is here for forbidden knowledge. The elementals are here to make sure he gets it.
Here’s another set of elementals, freshly printed and painted. These models are from Brite Minis and were printed on my FDM printer. They sold out quickly on my Etsy store, so I printed up a new batch and got them painted—simple paint jobs mean they go from printer to tabletop quickly. Now they’re back in stock and ready for adventure. If you want to know how I paint up these elemental, you can read about it here: https://tabletop-thoughts.com/2025/09/09/hobby-bench-update-elementals-angry-eyes-and-creepy-crawlers/

Where elves meet humans… half-elves are born.
These models are from The Printing Goes Ever On. The male elven noble is meant to be King Thranduil, while the female noble is Queen Wealhtheow from their Beowulf collection. I printed both in resin and mounted them on counting chips for easy handling at the table. They were primed black, then given white highlights with the airbrush to bring out the details. I kept the color work simple with speed paints and finished them off with a clear coat to protect all the work.

Mister Frog and Mister Toad, now with +3 in intimidation.
The giant frog is from The Printing Goes Ever On, and the giant toad comes from EC3D Design. Both were printed in resin and primed black. Since these two are a bit beefier than the usual mini, I used a makeup brush to dry-brush white highlights and really bring out the texture. I combined speed paints with regular model paints for the colors, and now this unlikely duo is ready for some tea… served, of course, from the skulls of their enemies! To give them that perfect swampy, slick look, I finished them off with a coat of gloss Mod Podge so they appear wet and slightly menacing.

From the city gates to the next expansion, these heroes never stop moving.
These models are for my HeroQuest game. I had originally planned to paint the miniatures that came with the game (I picked it up this summer for my birthday, I think), but I decided to go online and grab a remix pack. It included alternate poses for the heroes as well as opposite-gender versions, which made things way more fun.
I printed out the starting heroes in resin and got to painting. Flesh tones were handled with standard model paint, finished with a flesh wash for depth. I tried to give the barbarians a little extra personality, styling the male to look like Conan and the female like Red Sonja, which was a fun experiment. I managed to complete both barbarians, the female wizard, and the male elf (the game now comes with a female elf). I had started painting my female elf, but I broke off her sword. Instead of trying to reattach it, I simply printed a new one.
Before I could get to the dwarf, the latest miniatures from Fat Dragon Games arrived. I printed them in resin and painted them up. I really liked one of their dwarves, so I swapped him into the lineup. Now he lives happily in the box with the rest of the dungeon-delving heroes, ready for the next adventure.
The house in the background was finished this week as well. I picked up the box from work and decided to turn it into a building. Craft sticks form the frame, while foam bricks line the bottom for texture. The door and windows were 3D printed. I chose a linen color for the walls, but unfortunately, the black wash I applied afterward didn’t settle the way I hoped—it kind of dulled the excitement I had for the project.
Even though I finished it, the initial spark was gone. It’s a good reminder that not every project will turn out perfectly, but that doesn’t mean you should give up. Sometimes just completing it is the achievement.
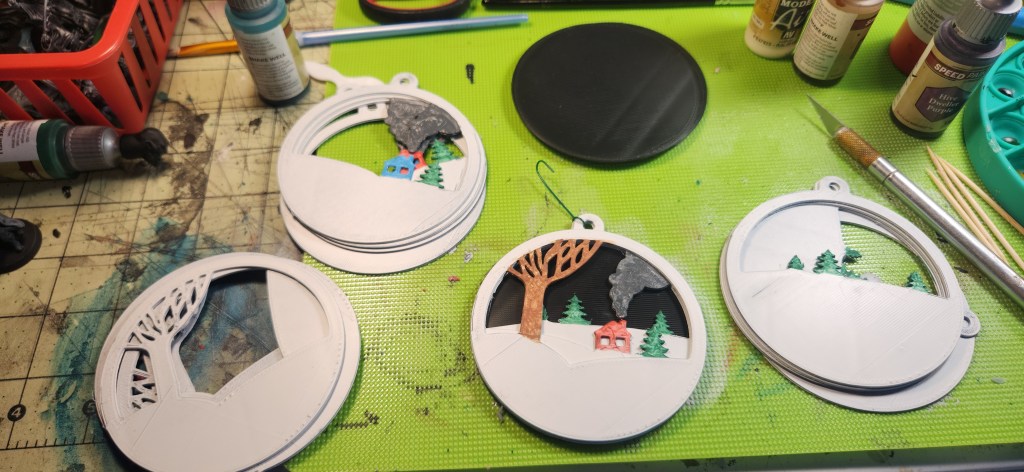
With Christmas right around the corner, I switched the FDM printer over to make some holiday presents for the coworkers at my second job. I found this ornament on Thingiverse and printed one as a test to see how it would turn out. I liked it enough to immediately print four more, which are currently in the middle of getting painted. The one in the center is the test model.
Once those are finished later this week, they’ll be ready to get wrapped up and handed out—because nothing says holiday cheer like something fresh off the printer.
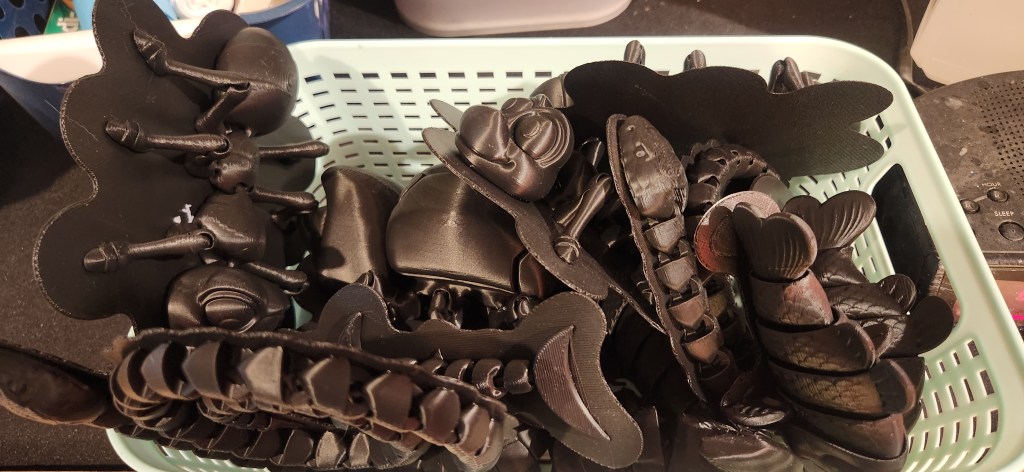
Along with the ornaments, I also printed a handful of articulated models to give out. There are ants, beetles, fish, and snakes, all printed and ready to go. For now, I’ve left them attached to their rafts so they don’t get damaged. Once it’s time to bag them up, I’ll pop them off and get them ready for handing out.

While the FDM printer has been busy handling Christmas duties, the resin printers haven’t been sitting idle. I’ve been printing up resin miniatures for my Etsy store, focusing on small, ready-to-use groups that can be dropped straight onto the gaming table. The idea is to make it easy to grab a set of models that just work for play.
This particular group is a band of dwarves, featuring a mix of fighters, a cleric, a rogue, and a wizard—everything you need for a sturdy, beard-filled adventuring party.

Here’s a group of elves, all printed in resin. The set includes fighters, rangers, spellcasters, and even a bard, giving a nice spread of classic elven roles. With ten models in the group, there should be more than enough options to find a player character—especially if you’re just starting out and don’t have many miniatures in your collection yet.
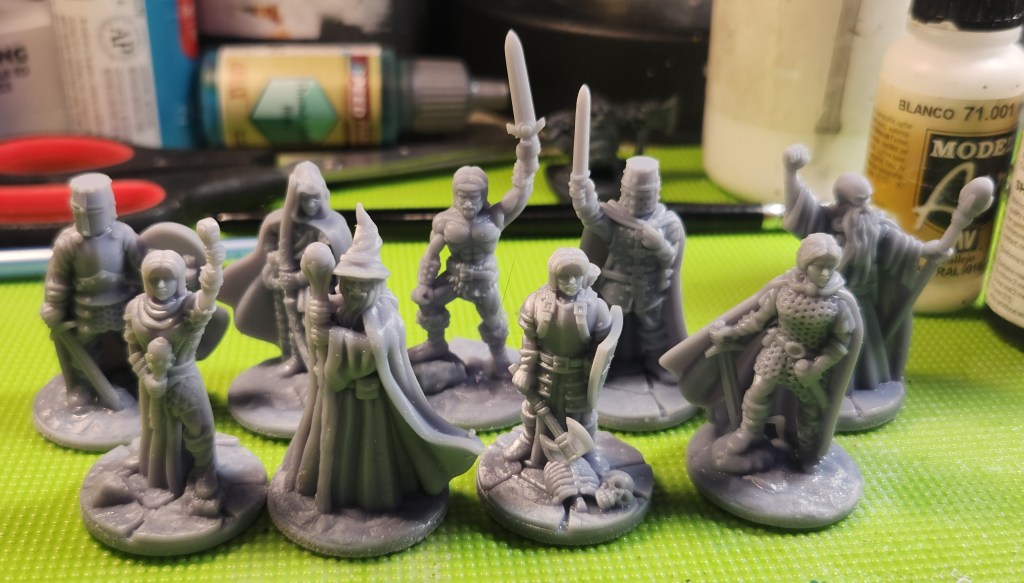
Here’s the human group. All of these models are from Fat Dragon Games and were printed in resin—even though they’re designed to print support-free on an FDM printer. I just really like the extra level of detail you get with resin.
The set includes fighters, a cleric, spellcasters, plus a ranger and a barbarian, giving a nice spread of classic adventuring roles. It’s a solid variety, making it easy to grab a single set and find something that works for just about any player character.
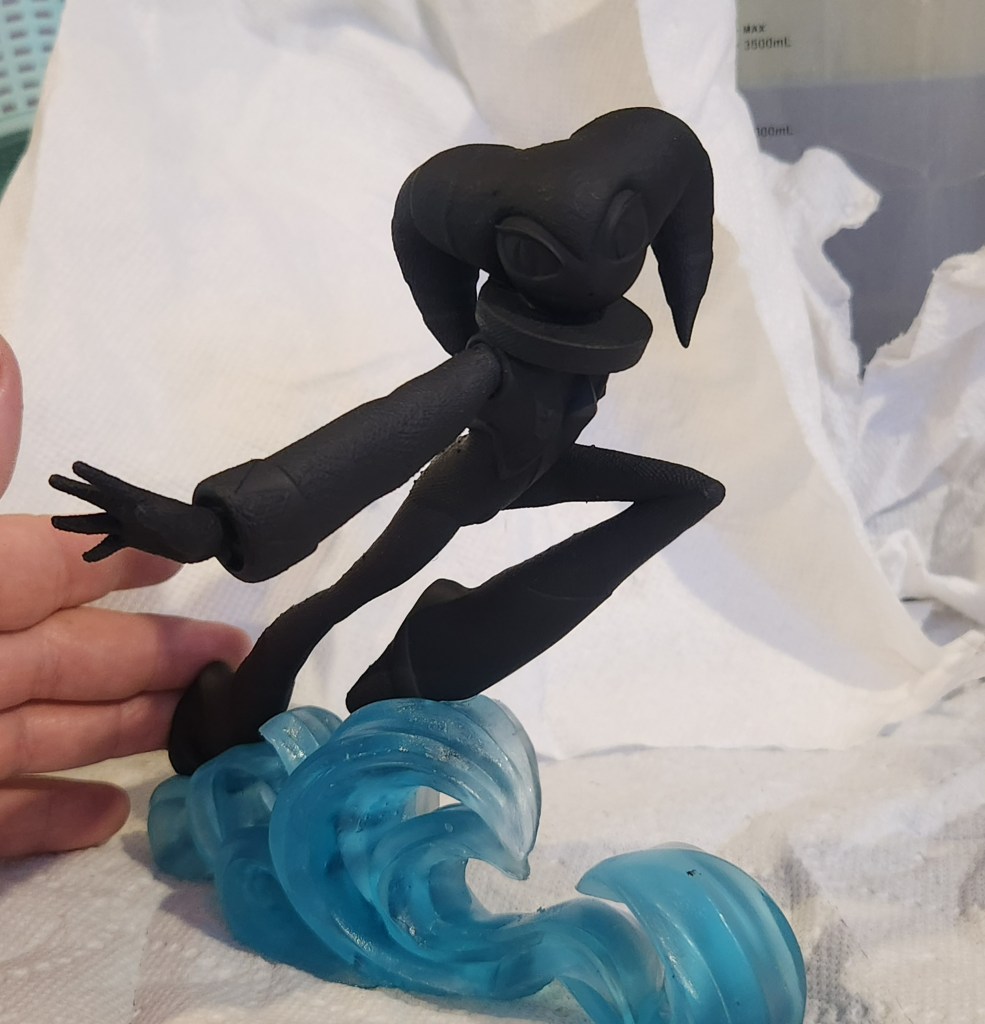
I also finally got a chance to finish up this model I was making for a coworker at my main job. The head and body gave me more trouble than expected, thanks to a Lychee update that changed how the auto-generated supports worked. Every single print using those new supports failed. After enough frustration, I uninstalled the program, rolled back to an older version, and was finally able to get a successful print.
Once everything was printed, I glued the character together and primed it black. I left it off the clear blue base on purpose, since it’ll be much easier for her to paint the character separately. That clear blue resin is a pain to work with anyway, and I’ll be very happy when I finally use up what I have.
Looking back over the past two weeks, I’m honestly a little surprised by how much I managed to get done—especially since I’ve been working just as much, if not more, than usual. Somehow, the printers kept running, the paint kept flowing, and a lot of projects actually made it across the finish line.
What have you been printing and painting this month? Projects for friends? Gifts for family? I’d love to hear about it—drop a comment and let me know what’s been on your hobby table.
Keep on gaming!
